The following content is a guest post. All content and opinions offered in guest posts are solely those of the author. They do not necessarily represent the views of this site.
The magnetic USB charger is a critical point of failure for your JUUL – and most people never consider that fact until the first time their JUUL doesn’t charge. If that little battery charger doesn’t work as it should, though, you can’t vape unless you’ve got a backup charger. Unfortunately, most stores that stock JUUL don’t sell backup chargers, so it’s unlikely that you have one.
Well, never fear. If your JUUL isn’t charging, this article is here to help you solve the problem on your own. Troubleshoot a JUUL that doesn’t charge with these straightforward steps.
Clean All Contacts
Start by cleaning the contacts on the JUUL charger and on the bottom of the JUUL device. If you carry your JUUL in your pocket, it’s likely that the recessed charging contacts on the bottom of the battery have picked up some lint and dust. You can use a toothpick to scrape the residue out without fear of damaging the charging contacts. Do the same with the charger. If the charger’s pins are dirty, clean them with a cotton swab.
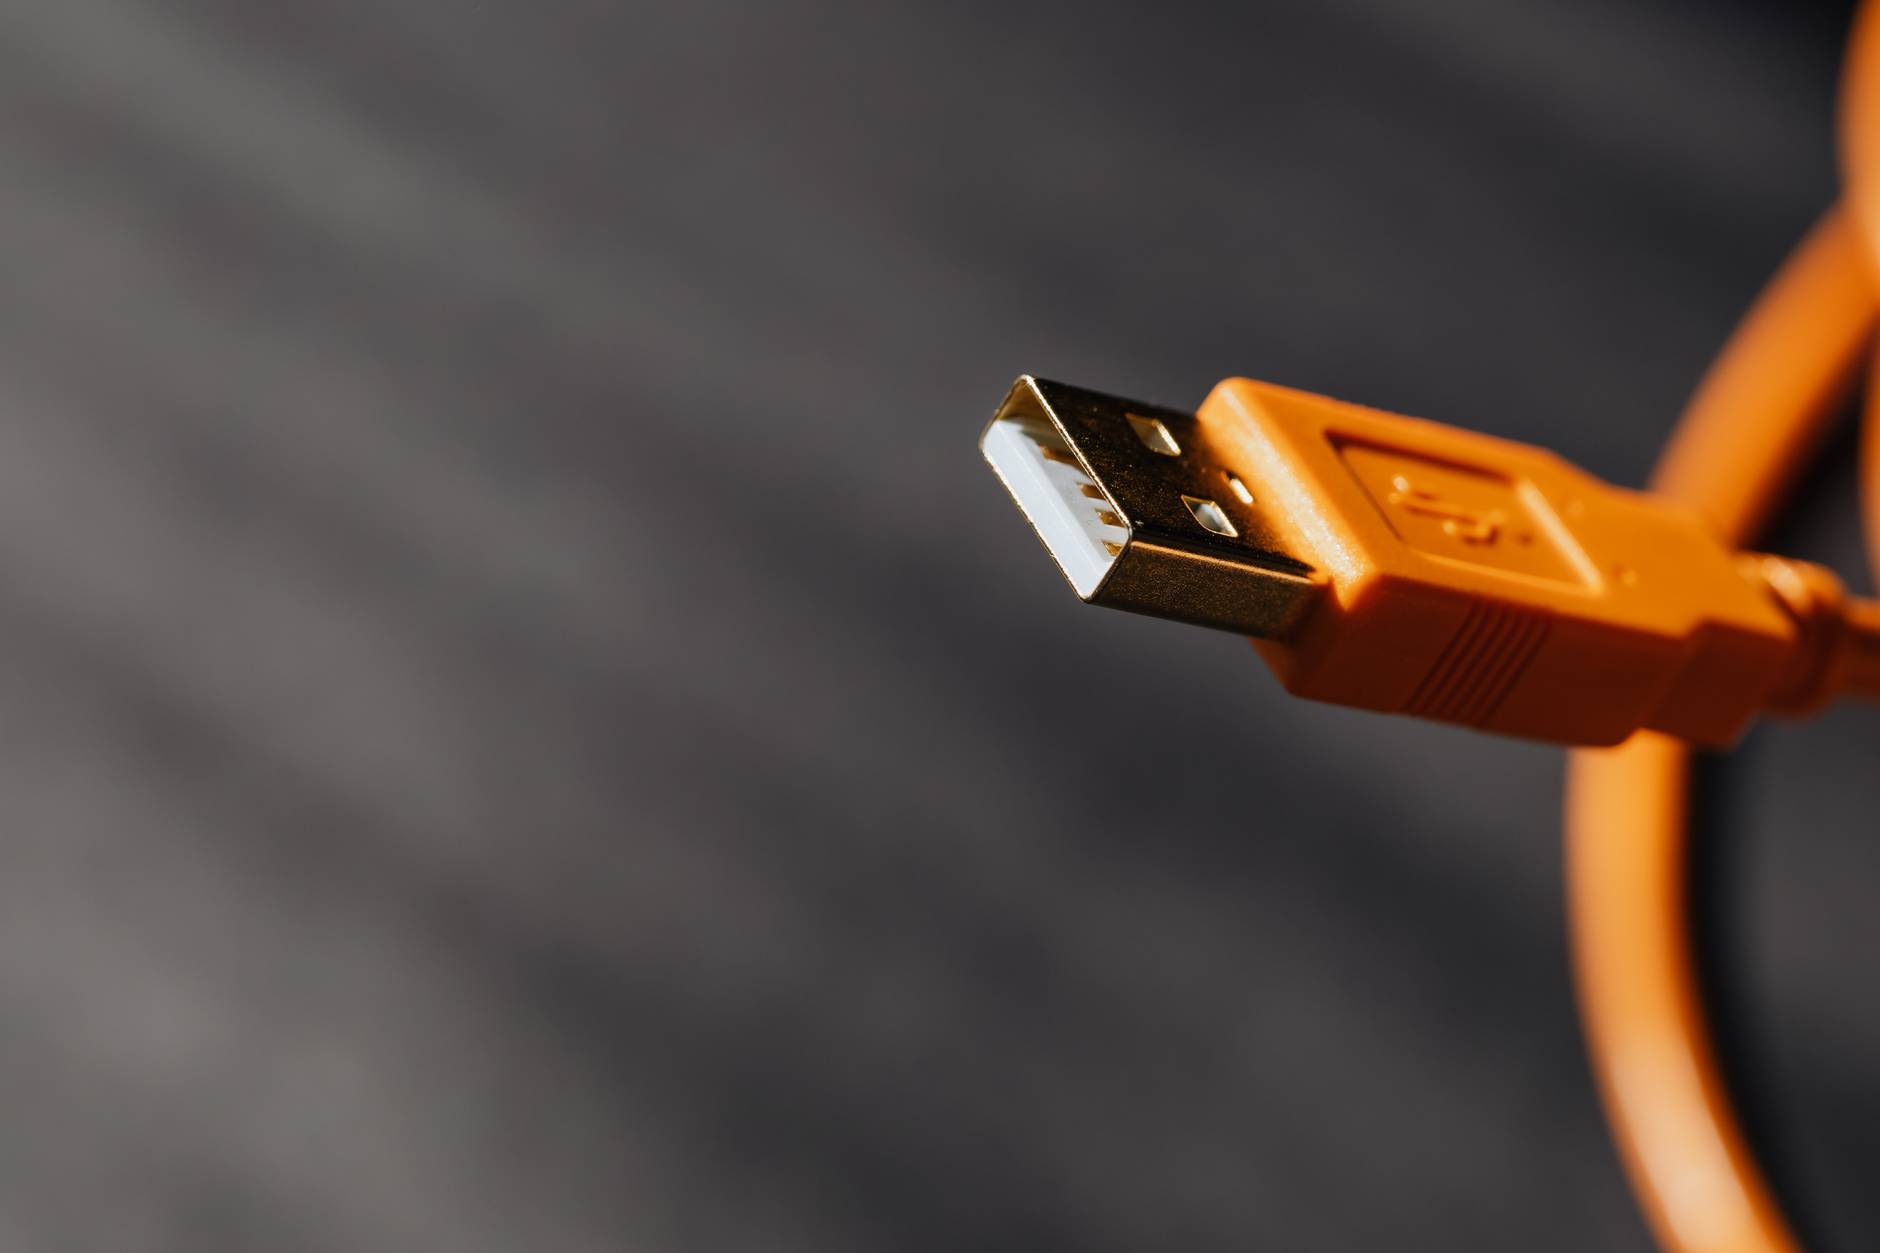
Try a Different USB Port
The JUUL charger is designed to work with a USB port on any computer, but computers don’t always behave as they should. Before you assume that the JUUL hardware is the cause of the problem, try a USB port on another computer. Don’t attempt to charge your JUUL with a “fast-charging” wall adapter for a mobile phone or tablet.
Swap Hardware if Possible
It’s likely that you’ve already tried a different JUUL charger at this point if you have one. If you haven’t tried an alternate charger, though, now is the time to do so. You should also try charging a different JUUL battery if you have one available. If you’re able to charge your JUUL after swapping out the battery or the charger, then you have successfully identified the component that’s causing the problem. That doesn’t necessarily mean you need to discard the problem component; it just means that you know the component that requires troubleshooting. Don’t give up until you’ve tried every tip in this article.
Confirm the JUUL Battery Is Dry
Once in a while, you may encounter a JUUL pod that leaks. If that happens, you may end up with e-liquid inside your device’s battery – and that can be disastrous. Check the condition of the battery by first checking under the pod. If you haven’t already cleaned the top compartment of your JUUL, remove any condensation from under the pod with a cotton swab or paper towel. Next, hold a paper towel over the top of the battery while blowing firmly through the bottom. Is the paper towel wet? Can you see moisture in the top of the JUUL battery? If so, you’ve got moisture in the battery. Continue blowing through the battery and wiping away the e-liquid until you’ve removed as much as you can.
Is the battery charging at this point? If not, try sealing the battery in a plastic bag for a day or two with a cup of dry rice or a packet of silica gel. If the JUUL device still isn’t charging after you remove it from the bag, it’s likely that a leaking pod has killed the battery.
Yes; You Can Build Your Own JUUL Charger in a Pinch
As the folks at Blackout Vapors point out, charging a JUUL with a USB cable is possible in a pinch. The JUUL, after all, does charge via USB. All that you need to do is cut the connector off of a USB cable, strip two of the wires and connect those wires directly to two of the plates on the bottom of the JUUL battery. Although making your own JUUL charger from a USB cable is a temporary stopgap at best, it might be an option if you’re comfortable working with electronics in that way.


